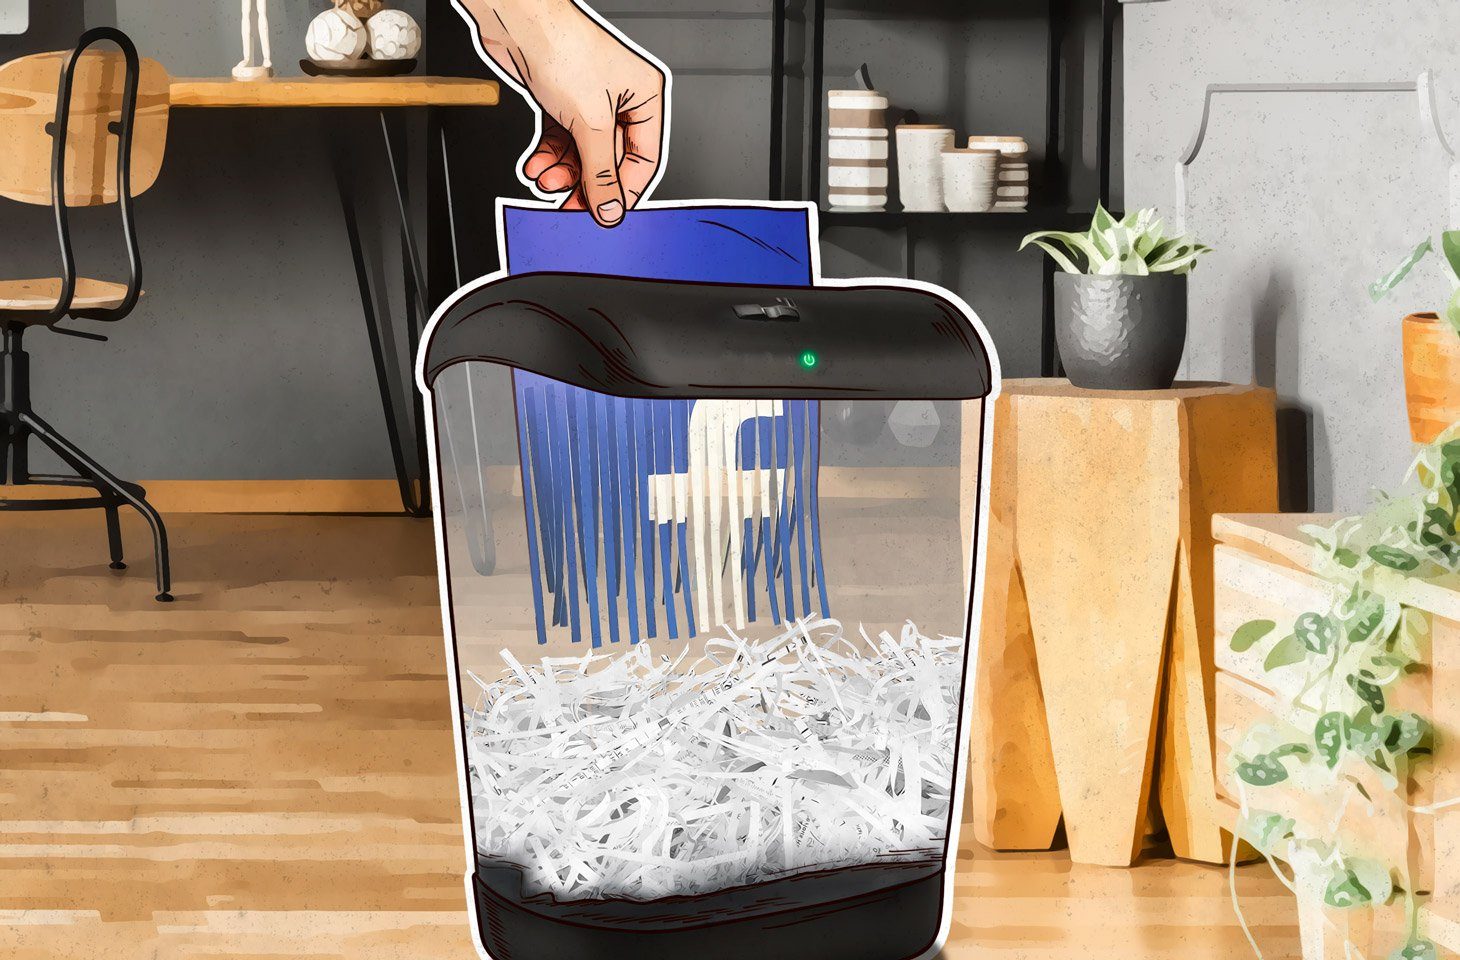
With the sheer amount of data Facebook and associated entities possess about users, it’s no wonder loads of people want to break free. If you’ve been on the social network for longer than about 5 minutes, though, your account has probably amassed some friends, files, and memories you’d like to save.
How to deactivate your Facebook account
Let’s just get this out of the way: Facebook doesn’t want you to go. Your account won’t lapse if you ignore it, and if you need some help staying away, you can deactivate it without actually leaving. Facebook changes the location of its settings from time to time, but at the time of this writing, you can deactivate your account under Settings → Your Facebook Information. Choose Delete Your Account and Information and then Deactivate Account. Follow the prompts to confirm.
Deactivating is like turning off the lights — people won’t see your name or photos, for the most part, and you can’t use your inactive account. You can turn those lights back on automatically, simply by logging back in. Your settings and friends and messages and everything else will be there when you come back.
Still determined to delete your Facebook account? We can’t blame you. But if you’re not careful and thorough, then Facebook, like a reluctant ex, won’t give you back your stuff. Take it with you when you leave by downloading your pictures, messages, and so forth.
How to delete your Facebook account from the Web interface
- Open Settings → Your Facebook Information.
- Choose the second option: Download Info.
- Select a date range (the default is All of my data), the HTML format for universal access, and a file quality — if you’ve been using Facebook to store your photos, you might want to choose High instead of the default Medium for Media Quality.
- Check or uncheck the boxes for types of data to back up — everything from the obvious posts and media files to the apps and websites you log in to with your Facebook credentials, “Other Activity” such as Pokes, and Marketplace activity. It’s all clearly defined, and you won’t go wrong backing up something you don’t necessarily use or understand.
- Click Create File. It’ll take some time, and Facebook will let you know by e-mail when the file is ready for you to download.
That’s it: You’ve backed up your Facebook history and can go ahead and delete your account. Go back to the Permanently Delete Account page and choose Delete Account.
How to delete your Facebook account from a mobile interface
If you use an iOS or Android app to access Facebook, you’ll need to do more than just delete the app. Sure, deleting it triggers a warning about app data being deleted, but that’s app data, not all of your data.
Again, apps and their settings change, but probably not radically. In the current versions of iOS and Android apps it goes like this:
- Tap the Settings icon (three horizontal bars) at the bottom right (iOS app) or at the top right (Android app) of the screen.
- Tap Settings & Privacy.
- Tap Settings.
- Select Download Your Information and follow the prompts to download all possible aspects of your Facebook account.
- Return to the main Settings menu.
- Tap Privacy Shortcuts.
- Scroll down to Your Facebook Information and tap Delete your account and information.
- Choose Delete Account and tap Continue to Account Deletion.
- Scroll down and tap Delete Account.
Remove the app from Android or iOS the normal way: In Android, most likely through the application manager under Settings; in iOS, touch and hold the icon until an X appears in the top left corner of the icon, tap the X, and confirm you want to delete the app and its associated data.
See you in the real world … or on the social media accounts you’re not quite ready to quit.
 Facebook

 Tips
Tips